How does Pi-hole works ?
You can use an ad blocker on your computer, no problem. But what about devices that do not support the addition of ad blockers, like your smart TV, or inside an application?
This is when Pi-hole goes into play.
When a web page or application tries to connect to an ad server, Pi-hole (configured as a DNS server, a large directory) detects that it is an ad server and blocks the request. Quite simple.
This is what is called a DNS sinkhole. This is why it is important to change your basic DNS servers.
Requirements
You can install Pi-hole in a Docker container, but the idea is to play with a Raspberry Pi and so this is the method we will favor. This way it will keep your DNS resolver (Pi-hole) independent to any other container or program you may be using.
Any Raspberry Pi would do it. We personally use two Pi-Zero-W for redundancy at the office but have deployed multiple networks using a single Raspberry Pi without any downtime to date. Our recommandation tends to having an Ethernet enabled Raspberry Pi or using an ethernet adapter for Pi-Zero to avoid downtime if your Wireless Access Point fail or reboot.
Keep in mind that no actual traffic or bandwidth goes through the DNS resolver, but rather queries. Any website URL you are trying to reach will go through the resolver and be routed to the internet (or blocked, if on the ad list), then will directly load on your device. While this is great news for overall loading speed and performance, it also means that your devices will not be able to load internet queries if your raspberry pi or anything else hosting the resolver goes down.
How to install ?
You first need to flash the Raspberry Pi with the Lite version of Raspbian. While using the imager tool, make sure to enable SSH connection in the settings.
Assign a static IP address from your router to your Raspberry Pi.
Open a SSH connection into the Raspberry Pi and update all software with the command:sudo apt-get update && sudo apt-get upgrade
Install Pi-Hole with the command :curl -sSL https://install.pi-hole.net | bash

Follow instructions from the blue screen. The password generated at the end for the GUI can be changed with the command line:pihole -a -p
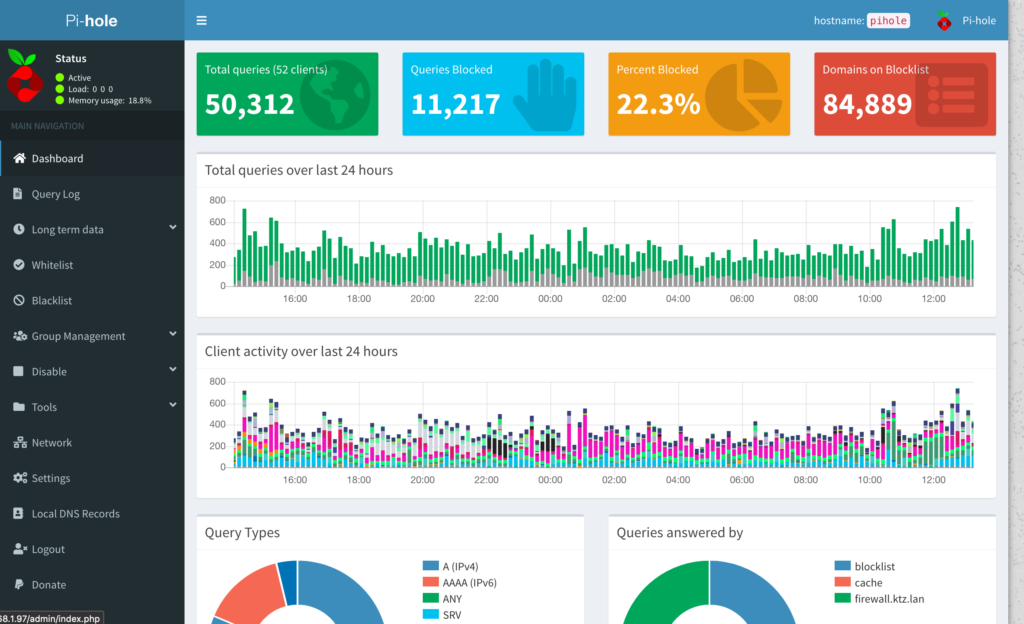
Access the admin panel with all settings by enter STATICIP/admin into your browser. The password you just changed will get you in.
The final step of this abbreviated set-up is to modify the DNS servers of your router. Usually, your Internet Service Provider has their own DNS servers pre-set into the equipment they provide you. After logging in to the router’s admin interface and finding where the setting is, change it to the Static IP you had set for the Pi-hole device. Now your traffic queries will go to that device, through the Pi-Hole Ad-Lists then to the global DNS servers set into Pi-Hole (We recommend CloudFlare for their privacy policies.)
Having trouble ?
This article hopefully helps you understand the basics of Pi-hole. Extensive documentation from the official website will answer all your questions, and offer you advance configuration walkthroughs.
Feel free to reach-out if you need help.